Receipt Printer Printing Faded? Diagnose the Pattern
Use the receipt pattern, a self-test, and known-good paper to separate media, contamination, settings, contact, heat, and hardware faults.
- Written by
- Clayton Wingfield
- Reviewed by
- Clayton Wingfield
- Originally published
- Jul 26, 2026
- Last reviewed
- Jul 26, 2026
Quick verdict
Run a model-supported self-test and known-good paper check before cleaning or changing density; the defect pattern determines the next safe step.
- Best for
- Retail and hospitality operators whose thermal receipt printer still prints but produces pale, uneven, streaked, or banded output.
- Avoid if
- There is unusual heat, odor, smoke, liquid intrusion, visible mechanical damage, or a nonrecoverable error that requires service.
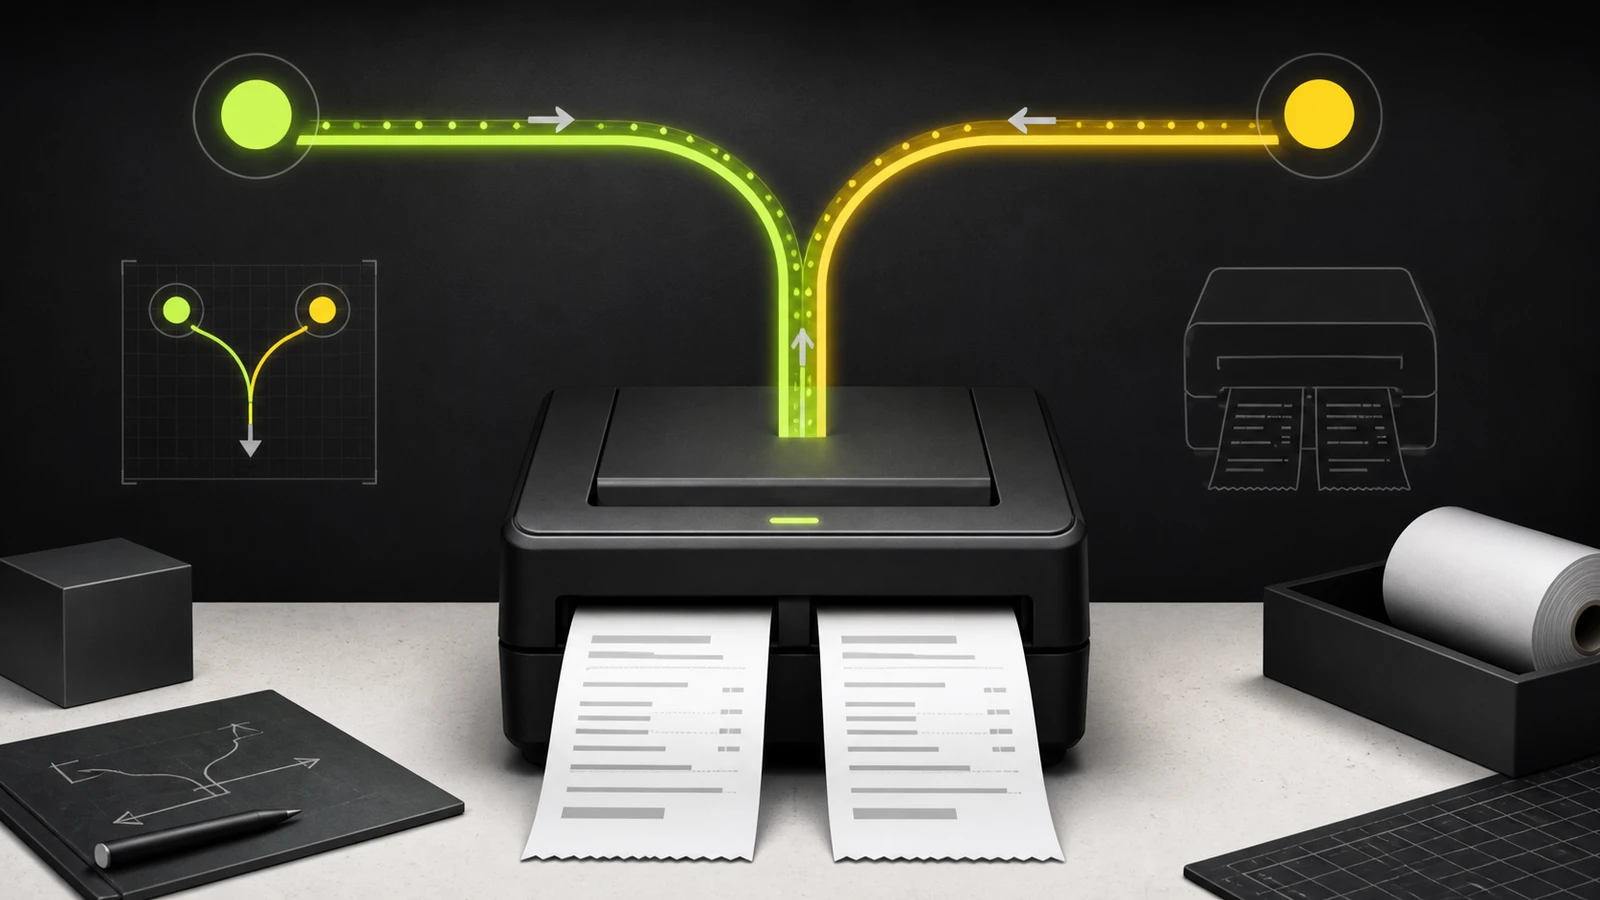
A receipt printer printing faded, pale, or streaked output usually has a paper, contamination, contact, or model-specific density problem. The pattern matters: even fading across the full width suggests a different first check than one pale edge or a fixed white stripe.
Start with the printer's built-in self-test and a known-good paper roll. Those two checks separate a printer-side fault from the POS app without changing settings or replacing parts.
Match the print pattern to the first check
| What the receipt looks like | Check first | What the result tells you | | --- | --- | --- | | Everything is uniformly pale | Known-good thermal paper, then self-test | The roll, density setting, printhead contamination, or heat transfer may be limiting the whole width | | One side is lighter | Cover closure, paper path, and platen contact | The paper may not be pressed evenly against the thermal head | | One narrow white line stays in the same place | Thermal-head cleaning | A fixed defect points to contamination or a failed group of heating elements | | Horizontal bands appear during a busy period | Cool-down test and the model's speed or density guidance | Heat protection, intermittent printing, or an unsupported setting may be involved | | The receipt is blank | Thermal side and paper type | The roll may be reversed, nonthermal, or unable to react to the printhead |
Take a photo or keep one defective receipt before making a change. Print another after each step. If several changes are made at once, a temporary improvement won't reveal which action fixed the problem.
Before cleaning or changing settings
Identify the exact printer model and locate its current user or technical manual. Cleaning agents, exposed parts, cover mechanisms, density controls, and self-test button sequences vary.
Then:
- Finish or redirect active receipt jobs.
- Record the current density, speed, and paper settings if the printer utility exposes them.
- Turn the printer off before opening it for cleaning.
- Let the thermal head cool. It can remain hot immediately after printing.
- Keep metal tools, fingernails, and hard objects away from the printhead.
Star's current guidance for its thermal printers, for example, calls for powering off, clearing debris, using a soft applicator with 70% isopropyl alcohol, and waiting for the area to dry. Epson's TM-P80II guide permits ethanol or isopropyl alcohol on the thermal head but specifies water for its platen roller and paper detector. Follow the instructions for your model rather than treating one vendor's procedure as universal.
Run the printer's standalone self-test
A self-test bypasses the POS app, receipt template, driver, and normal network path. Check the model manual for the exact sequence; don't assume every printer uses the same Feed-button procedure.
Compare the self-test with a receipt from the POS:
- Both are faded in the same pattern: concentrate on paper, the thermal head, the platen, cover pressure, and printer settings.
- The self-test is clean but POS receipts are faded: check the driver, print profile, density command, image processing, and receipt template.
- The defect changes position between prints: inspect paper movement, debris, wrinkling, and intermittent operation before declaring the printhead damaged.
- The same narrow line appears every time: clean once by the manual, retest cold, and prepare to contact the manufacturer if it remains.
Epson documents a standalone self-test for the TM-P80II and uses it to determine whether the printer can print by itself. The correct procedure for another model may be different.
Test one known-good thermal paper roll
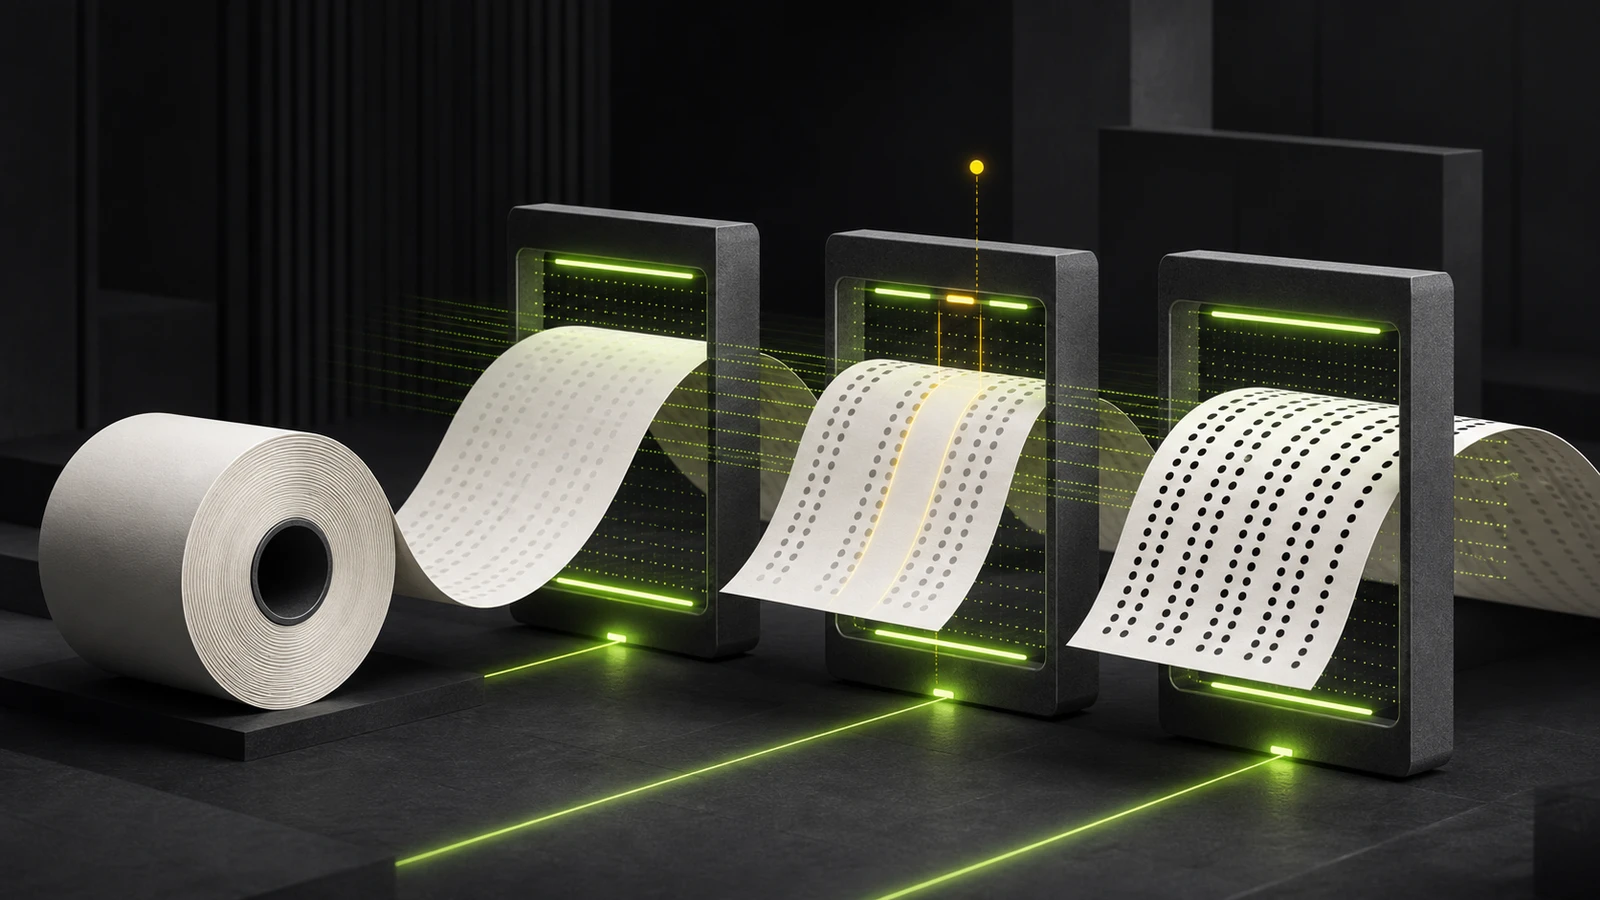
Thermal printers don't use ink or toner. Their paper has a heat-sensitive coating, so the roll is part of the imaging system.
Use a fresh roll that meets the printer's width, diameter, thickness, and thermal-paper specification. If possible, use a roll from a working printer of the same model. Test the suspect roll in that known-good printer only when its dimensions and specification match.
This cross-test is more useful than repeatedly raising darkness:
- If the defect follows the roll, replace that batch and review how it was stored.
- If multiple known-good rolls fail only in one printer, the printer or its configuration is the stronger suspect.
- If scratching one side of the loose paper produces a dark mark, that identifies the heat-sensitive side. Load it in the orientation required by the model.
Brother's support guidance likewise begins by confirming thermal media, aligning the roll, and printing a device test page before moving to cleaning.
Clean the thermal head safely
Clean only after the printer is off and the head has cooled.
Use the model's approved applicator and cleaning agent. Wipe the full print line gently, not just the visible defect. Don't scrape residue, flood the mechanism, or power the printer back on before the cleaned area is dry. Also inspect for torn paper, dust, or adhesive where the manual permits.
Print a new self-test after cleaning:
- A clean result points to contamination.
- A partial improvement suggests more contamination or uneven paper contact.
- No change in a fixed white stripe makes a damaged heating element more plausible.
Avoid repeated aggressive cleaning. A thermal head is a precision component, and static electricity or a hard object can damage it.
Check paper contact and the platen
The platen roller presses the paper against the thermal head. Uneven pressure can make one side of a receipt lighter even when the head still heats correctly.
With power off, inspect only the areas the manual identifies:
- Is the roll centered and feeding without wrinkles?
- Does the cover close completely and evenly?
- Is loose paper or debris blocking the paper path?
- Does the platen show visible contamination, damage, or a flat area?
- Does the symptom change when a correctly specified fresh roll is loaded?
Don't force a cover, shim the mechanism, or apply household lubricant. A damaged latch, roller, or spring requires model-specific service.
Change density or speed only after the physical checks
Some thermal printers expose darkness, density, and speed controls through a utility, web console, DIP or memory-switch setting, or POS integration. Epson documents both density and speed controls on current models, but the supported range and tradeoffs vary.
Before adjusting:
- Save or photograph the original value.
- Confirm the paper type recommended for that value.
- Change one setting by one supported step.
- Print a self-test and a real receipt.
- Check the result after the printer has handled several normal jobs.
Don't set darkness to maximum as a default fix. More heat can reduce speed on some models and may hide poor paper or contact briefly without fixing the cause.
If a standalone self-test is dark but app receipts are faint, restore the printer setting and investigate the POS path instead. The Shopify POS receipt-printer guide and Square receipt-printer guide show how to separate hardware output from platform routing.
Use the least-disruptive recovery order
For a working printer that has started producing faint receipts, use this order:
- Capture the defect pattern.
- Print a model-supported self-test.
- Load one known-good, correctly specified thermal roll.
- Power off, cool, and clean by the manufacturer procedure.
- Inspect cover closure, paper path, and permitted platen areas.
- Compare the original and current settings.
- Make one supported density or speed adjustment if evidence points there.
- Escalate a persistent fixed defect or mechanical-contact problem.
This order protects working configuration and avoids replacing a printer for a bad roll. It also avoids blaming paper when the printer's own test repeats the same hardware-shaped defect.
If paper is feeding but the cutter is the problem, use the separate receipt-printer auto-cutter guide instead.
When service or replacement is appropriate
Stop and contact the manufacturer, an authorized service provider, or your POS hardware vendor when:
- A fixed white line remains in the same position after approved cleaning and known-good paper tests.
- The platen, cover latch, cable, or enclosure is visibly damaged.
- The printer shows an error that its manual classifies as nonrecoverable.
- There is unusual heat, odor, smoke, or evidence of liquid intrusion.
- The self-test remains faint after paper, cleaning, and supported settings are verified.
- A repair requires disassembly beyond the operator-maintenance procedure.
For an older printer, compare the cost and downtime of a head or platen repair with a supported replacement. Verify the replacement's interface, POS compatibility, power supply, cash-drawer path, paper width, and mounting requirements before ordering.
Prevent recurring faded receipts
- Use paper that meets the printer's specification and store it away from heat, sunlight, moisture, oils, and chemicals.
- Keep a sealed known-good roll for diagnosis.
- Follow the manufacturer's cleaning interval and materials.
- Train staff not to scrape the head or pull jammed paper against the mechanism.
- Record density or speed changes with a reason and date.
- Replace damaged rolls rather than forcing them through the paper path.
- Review print quality before a high-volume period, not during the rush.
FAQ
Why is the whole thermal receipt very light?
Start with a known-good thermal roll and a standalone self-test. Uniform fading commonly points to paper response, printhead contamination, contact, or a density setting rather than one failed dot line.
What causes a white vertical line on every receipt?
Debris can block a section of the thermal head. If the line remains in exactly the same position after approved cleaning, cooling, and known-good paper tests, the head may need service.
Can I make the receipt darker in the POS settings?
Only if the printer or POS vendor supports that control for the exact model. Record the original value, change one step, and retest. Don't use maximum darkness to compensate for contaminated parts or incorrect paper.
Should I clean a thermal head with alcohol?
Use only the agent and method in the model manual. Star specifies 70% isopropyl alcohol for many current thermal printers, while Epson model guidance can distinguish between head and platen cleaning. Let the head cool and the cleaned area dry fully.
How do I know whether the paper or printer is faulty?
Cross-test with a known-good, correctly specified roll. If the defect follows the paper, replace the roll or batch. If several good rolls fail in one printer and the self-test repeats the defect, investigate the printer.
Compatibility notes
Systems, accessories, and constraints
Applies to direct-thermal receipt printers at a diagnostic-framework level. Self-test sequences, cleaning agents, exposed parts, paper specifications, density controls, and service procedures must be verified for the exact model.
Testing methodology
How this article was evaluated
Compared current Epson, Star Micronics, and Brother documentation; reviewed exact and close-variant search results; separated recurring symptoms into paper, contamination, contact, settings, heat, and hardware boundaries.
Known limitations
What this guide could not verify
Researched from current manufacturer documentation without hands-on access. The article cannot verify the reader's paper batch, printhead condition, platen pressure, settings, environment, or economic repair threshold.
Sources
Documentation and references
- How to Troubleshoot Faded/Light Printing on Thermal Printers - Star's current causes, thermal-head safety, 70% isopropyl-alcohol cleaning, drying, and paper cross-test guidance.
- TM-P80II Technical Reference Guide - Epson thermal-head and platen cleaning distinctions, faint-output guidance, standalone self-test, and supported density and speed controls.
- TM-H6000VI Technical Reference Guide - Epson troubleshooting for vertical white streaks, intermittent white lines, paper, print density, and print speed.
- Printed documents are light, dull, or not vivid - Brother's thermal-media verification, roll alignment, device test page, cleaning, and service escalation sequence.
Devicefield checklist
Make the next hardware decision with fewer surprises.
Get practical buying notes, compatibility checks, and new troubleshooting guides.
Frequently asked questions
Why is the whole thermal receipt very light?
Start with a known-good thermal roll and a standalone self-test. Uniform fading commonly points to paper response, printhead contamination, contact, or a density setting rather than one failed dot line.
What causes a white vertical line on every receipt?
Debris can block a section of the thermal head. If the line remains in exactly the same position after approved cleaning, cooling, and known-good paper tests, the head may need service.
Can I make the receipt darker in the POS settings?
Only if the printer or POS vendor supports that control for the exact model. Record the original value, change one step, and retest. Do not use maximum darkness to compensate for contaminated parts or incorrect paper.
Should I clean a thermal head with alcohol?
Use only the agent and method in the model manual. Let the head cool and the cleaned area dry fully before restoring power.
How do I know whether the paper or printer is faulty?
Cross-test with a known-good, correctly specified roll. If the defect follows the paper, replace the roll or batch. If several good rolls fail in one printer and the self-test repeats the defect, investigate the printer.