Receipt Printer Not Cutting: Fix the Auto-Cutter Safely
Separate receipt-printer cut settings from paper-path jams, recover safe faults in order, and know when the auto-cutter needs service.
- Written by
- Clayton Wingfield
- Reviewed by
- Clayton Wingfield
- Originally published
- Jul 25, 2026
- Last reviewed
- Jul 25, 2026

Quick verdict
Run a model-supported standalone cut test first, then fix the POS setting or powered-down cutter path indicated by that result.
- Best for
- Retail and hospitality operators whose thermal receipt printer still prints but no longer cuts reliably.
- Avoid if
- The printer has physical damage, unusual heat or odor, or a model-specific service procedure that should be handled by qualified support.
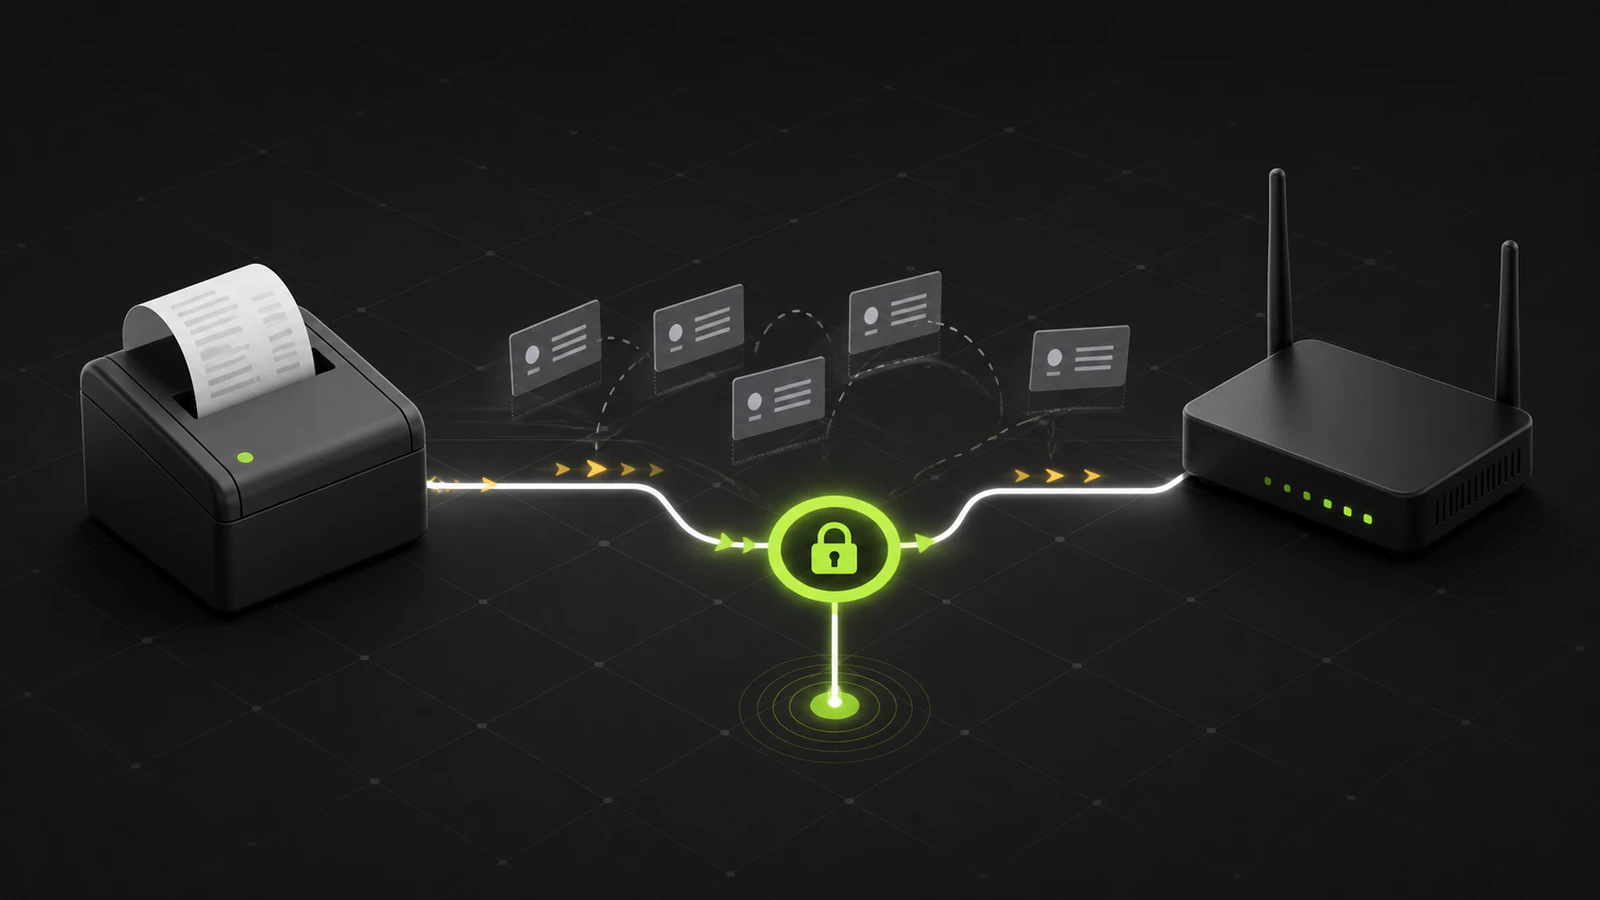
If a receipt printer prints normally but will not cut the paper, first separate a disabled cut command from a jammed auto-cutter. A clean receipt with no error light usually points toward the POS, driver, or printer cut setting. A partial cut, locked cover, grinding noise, or cutter-error light points toward the paper path or cutter mechanism.
Identify which cutting symptom you have
The phrase “not cutting” covers several different failures:
| Symptom | Most likely boundary | First useful test | | --- | --- | --- | | Receipt prints fully but never cuts | POS, driver, or auto-cut setting | Print a model-supported self-test | | Receipt cuts only during a self-test | POS profile or driver setting | Verify the assigned printer model and cut mode | | Paper is partly cut or trapped | jam, debris, paper loading, or cutter position | Power down and inspect the paper exit | | Cover will not open | cutter blade may not be in its home position | Use the model manual’s cutter-release procedure | | Error returns after one clean cut | recurring obstruction or worn mechanism | Stop repeated resets and arrange service | | Receipt ends early but cuts cleanly | page length, template, or paper-size setting | Check the print layout rather than the blade |
This distinction matters. Reinstalling a printer because a cut command is disabled wastes time; changing software settings will not free a mechanical jam.
Protect the checkout before working on the printer
Pause new print jobs and tell staff which register or printer is out of service. If the printer also drives a cash drawer, assume that drawer behavior may be affected until the printer is restored. Move receipt output to an approved backup printer or use the POS system’s supported digital-receipt process when available.
The thermal head and nearby parts can remain hot after printing. Lightspeed’s current receipt-printer troubleshooting guidance warns operators to use care around the head. Let the printer cool before reaching into the paper path.
Quick checks for a receipt printer that will not cut
Start with checks that do not erase configuration:
- Cancel or pause queued print jobs.
- Note the exact error-light pattern before cycling power.
- Verify that the receipt printed to its expected end and that the roll matches the model.
- Make sure the cover is fully latched without forcing it.
- Confirm that the POS still targets the intended receipt printer.
If the receipt is complete and the printer shows no hardware error, investigate the cut command first. If paper is trapped or the printer reports a cutter error, skip ahead to the powered-down inspection.
Diagnose the fault from least to most disruptive
1. Prove whether the printer can cut on its own
Use the manufacturer’s model-specific self-test or feed-and-cut procedure, if that procedure includes a cut. Do not assume every printer uses the same button sequence.
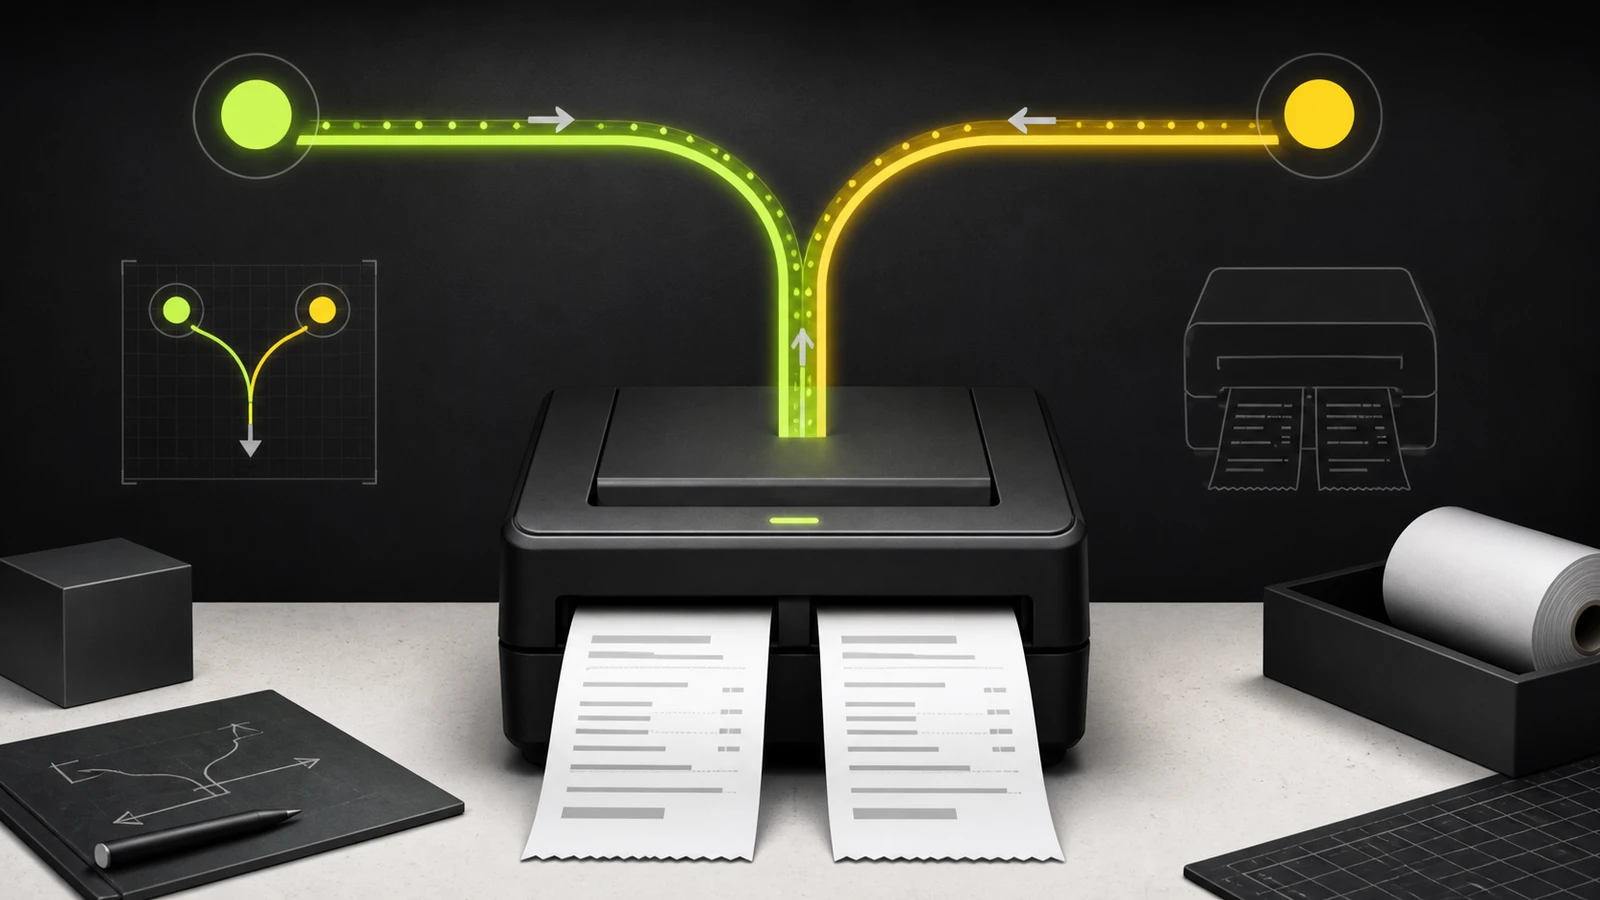
If the standalone test cuts cleanly, the cutter can move and return home under that test. Focus on the POS printer profile, operating-system driver, and document or page cut setting.
If the standalone test does not cut, or the printer shows the same cutter error without the POS involved, focus on the printer, paper path, and model-specific recovery procedure.
The existing Square receipt-printer troubleshooting guide and Shopify receipt-printer troubleshooting guide explain how to isolate platform connection and routing problems when printing itself is also unreliable.
2. Check the POS and driver cut settings
Confirm that the POS has the exact printer model or supported profile selected. A generic profile can print text while omitting the command that triggers the cutter.
Then inspect the current driver or print-service settings for:
- automatic cutting enabled;
- the intended partial- or full-cut mode;
- cut at the end of a document or page, as the workflow requires;
- correct receipt-paper width and page length;
- the current printer rather than an old replacement record.
Lightspeed documents a case in which automatic cutting can be disabled in CUPS or Windows device settings even though the printer still prints. POS-specific labels vary, so use the current vendor documentation instead of copying settings from a different model.
3. Power down and inspect the paper path
If the printer reports a cutter fault, makes an abnormal sound, cuts only partway, or traps the receipt:
- Stop incoming print jobs.
- Switch the printer off and disconnect power if the manual requires it.
- Let hot parts cool.
- Open only the normal paper and cutter covers described by the manual.
- Remove the roll and visible loose scraps without forcing the blade.
- Check for folded paper, adhesive, clips, labels, or other foreign material.
- Reload a correct, undamaged roll squarely.
- Close every cover firmly and reconnect power.
Toast identifies jammed paper, foreign objects, an empty roll, and a blade left out of position as common cutter-path causes. Star’s thermal-printer maintenance guidance also emphasizes powering down, removing paper dust and debris, and following the exact manual.
Do not spray cleaners into the printer or improvise with a screwdriver. Star specifically warns that cleaning methods differ by product family; compressed air can drive debris farther into some printers.
4. Return a locked cutter to its home position only as documented
A jam or unexpected power loss can leave a guillotine cutter extended. That can prevent the paper cover from opening.
For supported TSP100 and TSP650 models, Star publishes a model-family auto-cutter reset that starts with power off, visible jam removal, and a marked cutter knob used to return the blade home. Epson’s TM-T88VII reference guide likewise documents a powered-down knob procedure when the cutter prevents the roll-paper cover from opening.
Those examples are not universal. Use the manual for the exact model suffix and region printed on the device.
5. Run a controlled test
After recovery, run one manufacturer self-test and one receipt from the POS. Check four things:
- the receipt prints to the expected end;
- the blade completes the cut;
- the printer returns to its ready state;
- the next two or three receipts cut without noise or hesitation.
When the problem is software, not the cutter
Keep the repair on the software side when the printer’s standalone test cuts cleanly and the problem occurs only from one register, application, template, or operating system. Compare that failing path with a working register using the same printer model.
A receipt that cuts cleanly but loses the bottom lines is usually a page-length or template problem, not a dull blade. A printer that cuts at the end of a self-test but never after a sale usually is not receiving the intended cut instruction.
If a replacement decision is already underway, the researched Epson TM-m30III and Star mC-Print3 comparison shows why connection path and platform support should be checked before buying another printer.
When to stop and request service
Stop repeated recovery attempts when:
- the cutter error returns immediately after debris is removed;
- the blade will not return home using the documented procedure;
- the cover, cutter, cable, or enclosure is physically damaged;
- there is a burning smell, unusual heat, or persistent grinding;
- cuts remain ragged, angled, or incomplete with correct paper;
- the printer fails its standalone test after model-specific recovery;
- the same jam returns during a short controlled run.
Provide support with the model and serial number, error-light pattern, paper specification, connection type, self-test result, photos of the unforced paper path, and the steps already completed. That record helps distinguish a replaceable cutter assembly from a larger printer fault.
Prevent another cutter failure
- Use paper that matches the manufacturer’s width, thickness, and roll-diameter limits.
- Keep labels, tape, staples, and clips away from the receipt-paper path.
- Remove paper dust using only the cleaning method approved for the model.
- Do not pull a receipt before a partial cut finishes.
- Keep the printer on stable power and let it complete shutdown procedures.
- Add the printer model and manual link to the store’s equipment record.
- Maintain a tested backup receipt path for busy counters.
Frequently asked questions
Why does the receipt printer print but not cut?
The POS or driver may not be sending the cut command, automatic cutting may be disabled, or the cutter may be jammed. A model-supported standalone self-test helps separate software from printer hardware.
Can restarting the printer reset the auto-cutter?
Some printers try to return a locked cutter to its home position when restarted. If the error remains, power the printer down and follow the exact model manual rather than forcing the cover or blade.
Why does the printer cut during a self-test but not after a sale?
That result points toward the POS printer profile, driver, print service, or document cut setting. Confirm the exact printer model and automatic cut mode in the current checkout configuration.
Why is the receipt only partly cut?
A partial cut can be intentional, but a blade that stops mid-cycle usually indicates trapped paper, debris, incorrect media, a blade out of position, or a worn mechanism. Power down before inspection.
Should the whole receipt printer be replaced?
Not before isolating the fault. A settings problem needs configuration work, while a recurring model-confirmed cutter failure may need vendor service or a cutter assembly. Replace the printer only after the supported diagnostic path identifies the economic repair boundary.
Compatibility notes
Systems, accessories, and constraints
Applies to automatic cutters in common thermal receipt printers. Button sequences, status lights, cover access, blade-home knobs, cleaning methods, paper limits, and service boundaries vary by exact model and suffix.
Testing methodology
How this article was evaluated
Reviewed current Epson and Star manufacturer documentation plus Lightspeed and Toast support guidance; searched eight current query variants; separated symptoms into POS command, document layout, paper-path, recoverable cutter, and service-level boundaries.
Known limitations
What this guide could not verify
Research-only. Devicefield did not reproduce cutter faults across every Epson, Star, Bixolon, Toast, or other receipt-printer model. A documented procedure for one printer family must not be applied to another.
Sources
Documentation and references
- TM-T88VII Technical Reference Guide - Supports Epson auto-cutter error recovery, jam and foreign-matter removal, power-cycle recovery, and the blade-home procedure for a locked roll-paper cover.
- How to Reset the Auto-Cutter of TSP100 and TSP650 Series Printers - Supports Star's model-family scope, power-off requirement, jam removal, and marked-knob cutter-home procedure.
- How to Perform Maintenance and Cleaning on Thermal Printers - Supports powered-down maintenance, paper-dust and debris removal, model-specific cleaning methods, hot-head caution, and the warning against compressed air for some product families.
- Troubleshooting receipt printers - Supports cutter-error symptoms, Epson and Star recovery examples, hot-head caution, and CUPS or Windows auto-cut setting checks.
- Get Help: My Printer Isn't Working - Supports cutter-path symptom identification, jam and foreign-object checks, correct roll loading, model-specific cutter recovery, and escalation after mechanical steps fail.
Devicefield checklist
Make the next hardware decision with fewer surprises.
Get practical buying notes, compatibility checks, and new troubleshooting guides.
Frequently asked questions
Why does the receipt printer print but not cut?
The POS or driver may not be sending the cut command, automatic cutting may be disabled, or the cutter may be jammed. A model-supported standalone self-test helps separate software from printer hardware.
Can restarting the printer reset the auto-cutter?
Some printers try to return a locked cutter to its home position when restarted. If the error remains, power the printer down and follow the exact model manual rather than forcing the cover or blade.
Why does the printer cut during a self-test but not after a sale?
That result points toward the POS printer profile, driver, print service, or document cut setting. Confirm the exact printer model and automatic cut mode in the current checkout configuration.
Why is the receipt only partly cut?
A partial cut can be intentional, but a blade that stops mid-cycle usually indicates trapped paper, debris, incorrect media, a blade out of position, or a worn mechanism. Power down before inspection.
Should the whole receipt printer be replaced?
Not before isolating the fault. A settings problem needs configuration work, while a recurring model-confirmed cutter failure may need vendor service or a cutter assembly.